

Dear readers: For a change of pace, I’m not going to invent the wheel, but will simply share a good idea that’s been used in many classrooms all around the world.
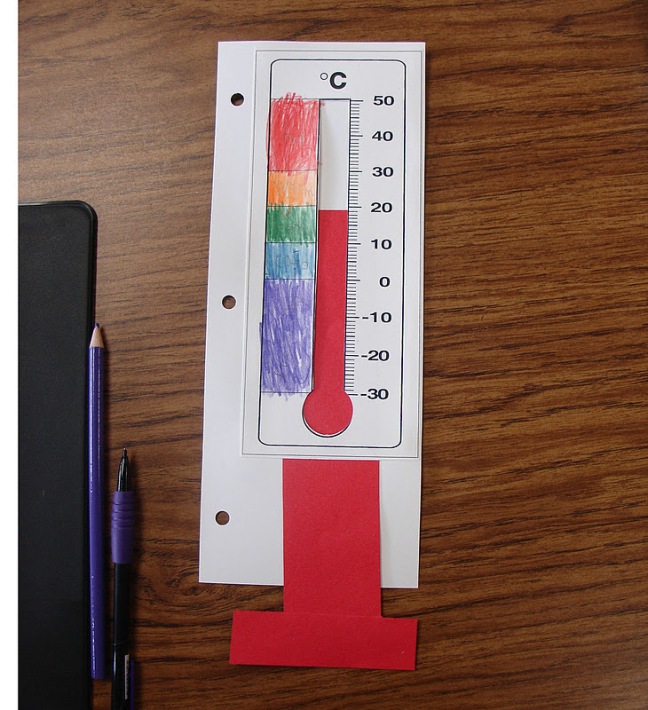
I remember the first time I made my very own cardboard thermometer back in kindergarten. I was only four at the time, but was fascinated by the fact that I could “make” the weather as warm or as cold as I wanted, simply by moving the yarn up and down. In the rich world of make-believe, I would shiver as the “temperature” dropped to freezing, and fan myself off as the red yarn slowly crept up to the higher numbers.
Years later, I played the same game after making these with the children I taught. The children loved combining counting with crafts. They learned concepts such as “hotter” and “colder”. They practiced sentences such as “It’s four degrees, that’s cold”, or “Ten degrees is hotter than four degrees.” The more advanced learners moved on to temperatures below freezing, practicing basic addition and subtraction with positive and negative numbers.
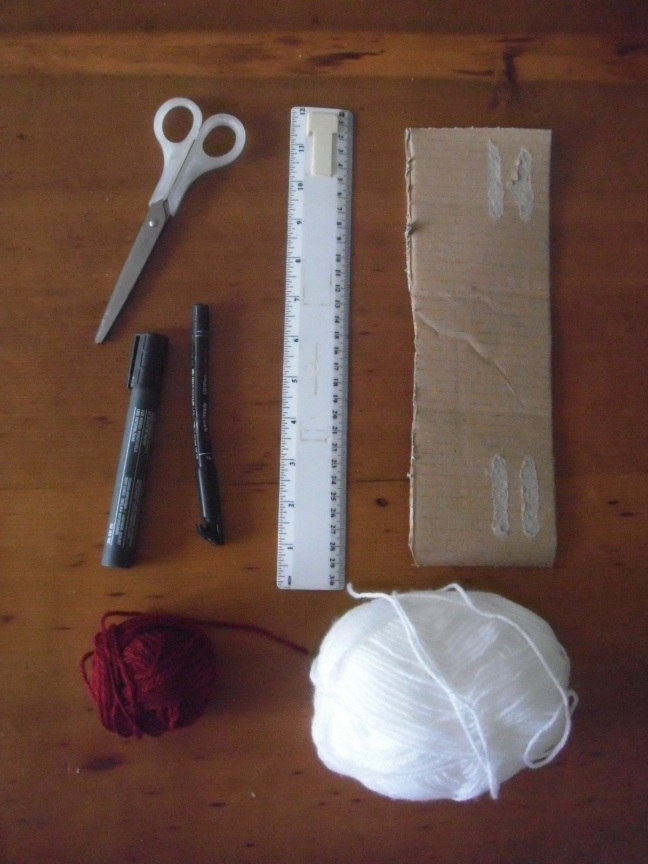
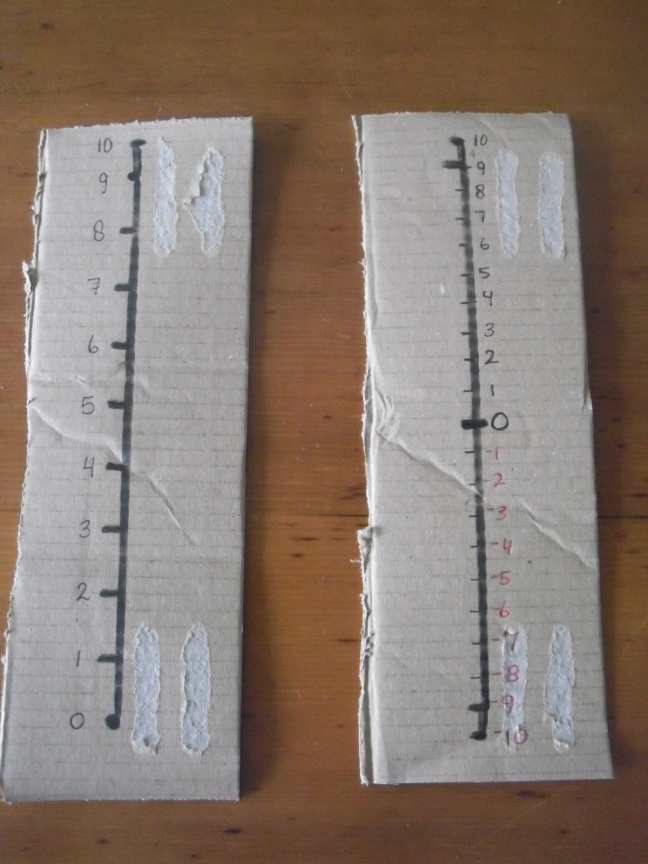
Here’s a short explanation of how to make the thermometer:


Another variant is to print a pre-made number line up to 100 and stick this on the thermometer. This way, children can practice their numbers up to 100. For those who like a real challenge, a blank number line is handy. Handy search terms for pre-made number lines are “number line to ….”, “number line to 100 by 10s”, or “blank number line”.
This is a nice way to introduce various concepts in the ESL classroom:
- numbers 1 – 10, or -10 through 10
- simple measurement practice
- connect to math with simple addition and subtraction
- connect to weather words such as freezing, cool, warm, and hot
- connection to self: how do we dress when it’s freezing, or when it’s warm?
- a dash of drama: what do we do when it’s freezing, or when it’s warm?
- simple use of comparatives with cooler and warmer
- presentational speaking: the weather forecast
In other words, cardboard thermometers are a simple but effective way of getting children to talk during the ESL lesson. Children can easily make these on their own, and help their classmates when needed. They can personalize these by decorating (for instance, a sun or a snowflake), and use them in acting out their own weather reports. Most importantly, children have fun during the ESL lesson.


Reblogged this on So, You Think You Can Teach ESL?.
LikeLike